+86 18513032986


How to Set an Outlet Timer: Full Setup Guide
Admin 2026-07-06Content
- 1 The Direct Answer: How to Set an Outlet Timer
- 2 Mechanical, Digital, and Smart Outlet Timers Compared
- 3 Step-by-Step: Programming a Digital Outlet Timer
- 4 Step-by-Step: Programming a Mechanical Dial Timer
- 5 In-Wall Timer Switches, Circuit Load, and Switchgear Basics
- 6 Wattage Limits and Load Compatibility
- 7 Common Outlet Timer Problems and How to Fix Them
- 8 Frequently Asked Questions
- 8.1 Can an outlet timer be plugged into a power strip?
- 8.2 How many on/off events can a typical outlet timer store?
- 8.3 Is it safe to run a space heater on an outlet timer?
- 8.4 Do outlet timers need to be reset after a power outage?
- 8.5 What is the difference between a plug-in timer and an in-wall timer switch?
- 8.6 Can one outlet timer control two separate appliances independently?
The Direct Answer: How to Set an Outlet Timer
To set an outlet timer, plug the timer into a live wall receptacle, set the current time on its clock or digital display, program the on and off times you want using the timer's buttons or dial, then plug your lamp or appliance into the timer's output socket. Most household timers finish this process in under five minutes, and the schedule repeats automatically every day until you change it.
That covers the basic plug-in timer that most homes use for lamps, fans, and holiday lighting. Whole-home schedules, garage circuits, and anything wired closer to a home's main switchgear or breaker panel involve a slightly different process, which this guide also covers step by step below.
Plug the timer directly into a wall outlet, never into an extension cord
Set the current day and time on the display or dial
Program your desired on and off events
Plug your appliance into the timer and confirm it is switched on
Mechanical, Digital, and Smart Outlet Timers Compared
Before programming anything, it helps to know which category of timer sits on your counter, since the buttons and menus differ quite a bit between them. There are three common families sold for household use, and each one trades simplicity for flexibility in a different way.
Mechanical Dial Timers
These use a rotating 24-hour dial with small pins around the edge. Pushing a pin in or pulling it out marks a 15 or 30-minute block as either powered or unpowered. There is no clock chip and no battery backup on most models, so a power outage means the dial loses its position relative to real time and needs to be reset.
Digital Programmable Timers
Digital timers use an LCD screen and a small keypad, typically with MODE, PROG, and arrow buttons. They allow multiple on and off events per day, separate weekday and weekend schedules on higher-end models, and often keep the programmed schedule in memory even after a brief outage thanks to a small backup capacitor or battery.
Wi-Fi and App-Controlled Smart Timers
Smart plug timers connect to a home Wi-Fi network and are programmed from a phone app rather than physical buttons. Scheduling, geofencing, and voice control through a smart speaker are the main advantages, at the cost of needing a stable 2.4GHz Wi-Fi signal near the outlet.
| Timer Type | Programming Method | Typical Event Limit | Power Outage Behavior |
|---|---|---|---|
| Mechanical dial | Push/pull pins on a 24-hour dial | Up to 48 events (15-min blocks) | Clock resets, no memory |
| Digital keypad | MODE/PROG buttons with LCD readout | Typically 8 to 20 programs | Schedule usually retained in memory |
| Wi-Fi smart plug | Smartphone app or voice assistant | Effectively unlimited | Schedule retained on cloud/app account |
Step-by-Step: Programming a Digital Outlet Timer
Digital timers vary by brand, but the underlying sequence of button presses is nearly identical across manufacturers. Follow this order and adjust only the specific labels to match your unit's manual.
- Plug the timer into a live wall outlet so the internal clock powers on.
- Press and hold the CLOCK or TIME button, then use the arrow keys to set the correct hour, minute, and day of the week.
- Press PROG or MODE to enter programming mode. The display will usually show "ON1" or a similar prompt.
- Use the arrow buttons to set the first ON time, then confirm with SET or ENTER.
- Repeat the process for the matching OFF time.
- Repeat steps 3 through 5 for any additional on/off pairs you need that day.
- Press EXIT or DONE to leave programming mode, then confirm the manual override switch is set to AUTO rather than ON or OFF.
- Plug your lamp, fan, or appliance into the timer's output socket and verify it powers on through one full cycle before leaving it unattended.
If your timer supports separate weekday and weekend programs, look for a WEEK or DAY selector near the PROG button. Setting this correctly before entering your on/off times prevents the schedule from applying to the wrong days.
Step-by-Step: Programming a Mechanical Dial Timer
- Rotate the outer dial until the current time lines up with the fixed pointer or arrow marked on the timer body.
- Locate the small pins or tabs around the dial's edge, each representing a 15 or 30-minute segment of the day.
- Push in every pin covering the hours you want the outlet powered ON.
- Leave the remaining pins pulled out to represent OFF periods.
- Check the ON/OFF/AUTO slide switch on the side of the unit and set it to AUTO.
- Plug the timer into the wall outlet, then plug your device into the timer's socket.
Because mechanical timers have no digital memory, a household power interruption of even a few seconds will cause the dial to fall out of sync with the actual time. After any outage, walk back through step one to realign the dial before trusting the schedule again.
In-Wall Timer Switches, Circuit Load, and Switchgear Basics
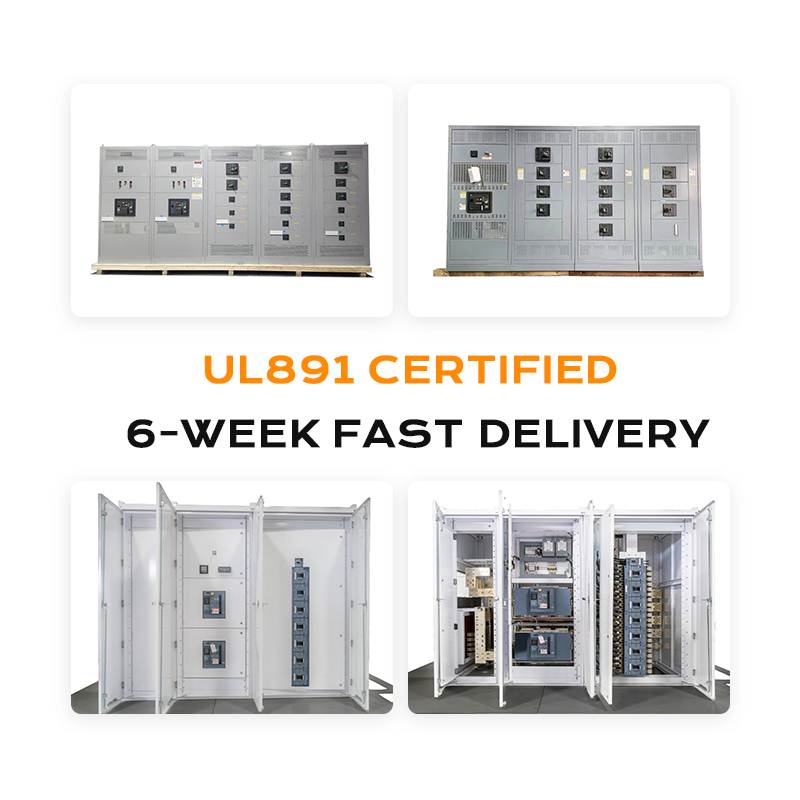
Plug-in timers are the easiest option, but many households replace an existing wall switch with a hardwired in-wall timer instead, particularly for exhaust fans, exterior lighting, or garage circuits. This wiring sits much closer to the home's electrical distribution, which is where a basic understanding of switchgear becomes genuinely useful rather than just terminology.
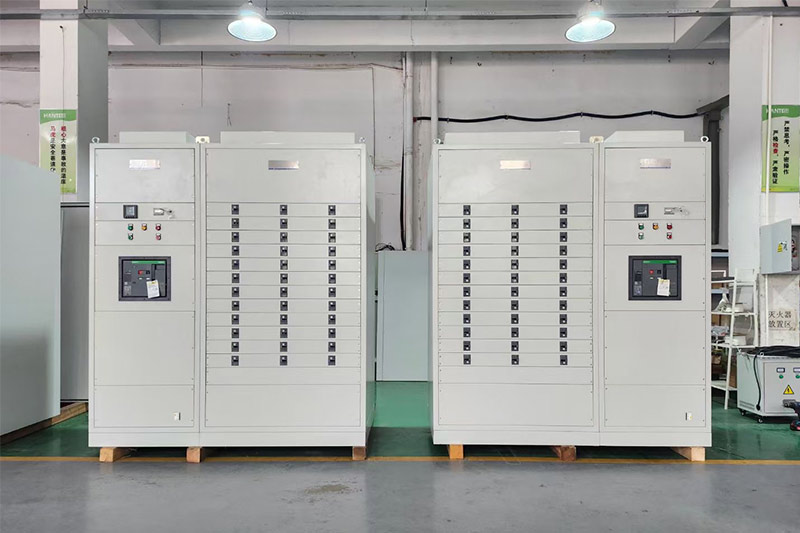
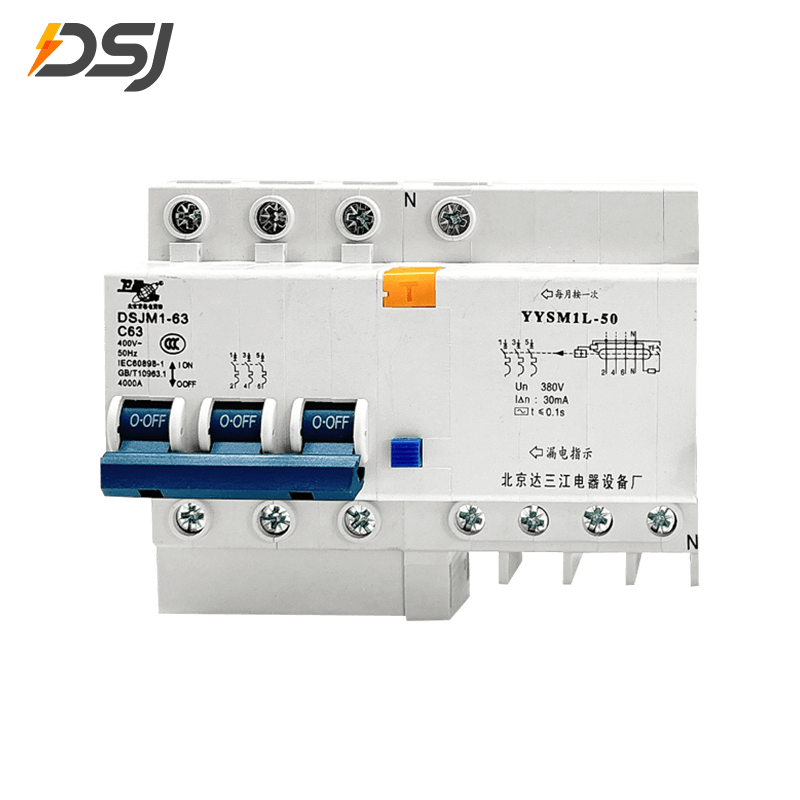
Switchgear is the broad term for the equipment that protects and controls the flow of electricity in a building, including the main breaker panel, individual circuit breakers, and the disconnect switches that isolate a circuit for maintenance. An in-wall timer is installed downstream of this switchgear on a single branch circuit, so the circuit breaker feeding that circuit still needs to be switched off at the panel before any wiring work begins.
Identifying the Wires
Inside a standard switch box you will typically find a line wire carrying incoming power, a load wire heading to the fixture, a neutral wire, and a ground wire. The timer's line terminal connects to the incoming hot wire, the load terminal connects to the wire heading out to the light or fan, and the neutral wires are joined together, often inside the timer itself or with a wire nut.
Why the Breaker Matters Before You Start
Because the timer sits on the load side of a branch circuit breaker rather than at the main switchgear, confirming the breaker is fully off, and testing the wires with a non-contact voltage tester, are the two steps most commonly skipped and most responsible for wiring mistakes. If you are not fully comfortable identifying line, load, neutral, and ground wires, this is the point where calling a licensed electrician is the more practical choice rather than a formality.
Wattage Limits and Load Compatibility
Every outlet timer, mechanical or digital, carries a maximum wattage rating printed on the housing or in the manual. Exceeding this rating repeatedly is the single most common cause of a timer's internal relay failing early, and in rare cases it can damage the timer permanently.
| Device Category | Typical Wattage | Safe for Standard 15A Timer |
|---|---|---|
| LED lamp or lighting string | 5 to 60W | Yes |
| Table fan or small appliance | 50 to 200W | Yes |
| Space heater | 750 to 1500W | Check rating closely, often at the limit |
| Window air conditioner | 900 to 1800W | Only with a heavy-duty rated timer |
Most standard household outlet timers are rated for 15 amps at 125 volts, which works out to roughly 1875 watts of resistive load, but motor-driven appliances like air conditioners and refrigerators draw a much higher inrush current on startup than their running wattage suggests. For those loads, choose a timer explicitly rated for motor or HVAC use rather than a general-purpose lamp timer.
Common Outlet Timer Problems and How to Fix Them
Timer Is Not Turning the Device On or Off at All
Confirm the manual override switch is set to AUTO, not ON or OFF. Then check that the outlet the timer is plugged into is not itself controlled by a wall switch that has been left off.
Schedule Runs an Hour Off
This is almost always a daylight saving time issue. Digital timers with a DST setting should have it enabled; mechanical timers need the dial manually adjusted twice a year.
Wi-Fi Timer Will Not Connect to the App
Confirm the timer is within range of the router, that the network is 2.4GHz rather than 5GHz only, and that the router password was entered correctly during setup. Power-cycling both the router and the timer resolves the majority of connection failures.
Digital Timer Loses Its Program After a Power Outage
Lower-cost digital timers without a backup capacitor will lose programming during any outage longer than a few seconds. If outages are frequent in your area, a model advertised with battery or capacitor backup avoids repeated reprogramming.
Frequently Asked Questions
Can an outlet timer be plugged into a power strip?
It is not recommended. Manufacturers generally specify plugging the timer directly into a wall receptacle, since power strips can introduce voltage drop or trip their own internal breaker under repeated cycling.
How many on/off events can a typical outlet timer store?
Mechanical dial timers typically allow up to 48 events across a 24-hour period in 15 or 30-minute increments. Digital timers commonly support 8 to 20 programmable events, while Wi-Fi smart plugs are effectively unlimited since schedules live in an app rather than onboard memory.
Is it safe to run a space heater on an outlet timer?
Only if the timer's printed wattage rating exceeds the heater's rated wattage with some margin. Most space heaters draw 1500 watts, which is at or near the limit of a standard 15A timer, so a heavy-duty rated timer is the safer choice.
Do outlet timers need to be reset after a power outage?
Mechanical timers always need the dial manually realigned after any outage. Digital timers with battery or capacitor backup usually retain both the time and the schedule, while ones without backup need both reset.
What is the difference between a plug-in timer and an in-wall timer switch?
A plug-in timer sits between the wall outlet and the appliance's own power cord with no wiring involved. An in-wall timer switch replaces the wall switch itself and is wired directly into the branch circuit downstream of the home's switchgear, which is why it typically requires the circuit breaker to be switched off during installation.
Can one outlet timer control two separate appliances independently?
Dual-outlet timers exist, but on most models both sockets share the same programmed schedule. If independent schedules are needed for two devices, two separate single-outlet timers are the more reliable option.
For exclusive deals and latest offers, sign up by entering your email address below.



 +86 18513032986
 FLC Center, Chaoyang District, Beijing, China
Copyright © DSJ Electrical Co., Ltd. All Rights Reserved
Power Distribution Equipment & System Manufacturer